OKM eXp 5500 | 3D Dedektör Montaj Rehberi

OKM eXp 5500 Pro Montaj Rehberi
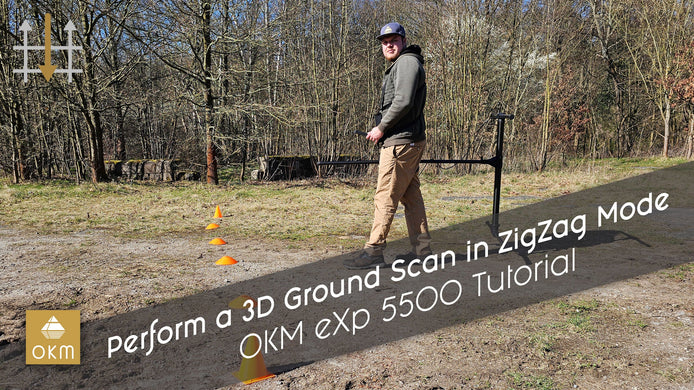
OKM olarak, üstün hassasiyet, kullanım kolaylığı ve güvenilirlik sunan OKM eXp 5500 Pro metal dedektörümüzü gururla sunuyoruz. eXp 5500, ileri teknoloji ile kullanıcı dostu özellikleri birleştirerek sahada olağanüstü performans sağlar. İster yeni başlayan olun ister profesyonel bir kullanıcı, bu cihaz keşif deneyiminizi geliştirmek için ihtiyacınız olan her şeyi sunar. Başlarken size yardımcı olmak için, uzmanımız Frank’in adım adım montaj sürecini anlattığı kapsamlı bir video rehber hazırladık. Bu videoda Frank, eXp 5500 Pro’yu etkili bir şekilde kullanmaya hazır hissetmeniz için sizi sürecin her adımında bilgilendiriyor.
Adım Adım Montaj Kılavuzu
Adım 1: Taşıma askısının ayarlanması
eXp 5500’ün montajına taşıma askısını ayarlayarak başlıyoruz. Frank, askının nasıl düzgün bir şekilde takılacağını gösteriyor ve kayışların bükülmemesine dikkat edilmesini sağlıyor. Ayrıca, kurulumun daha rahat olması için uzun kayışların geçici olarak birbirine bağlanmasını öneriyor.
Adım 2: eXp 5500 ünitesinin takılması
Askı yerine takıldıktan sonra, Frank eXp 5500 cihazının nasıl güvenli bir şekilde askıya monte edileceğini gösteriyor. Üst kayışlar bağlanarak cihaz sabitleniyor, ardından bel kısmındaki karabinalar takılarak montaj tamamlanıyor.
Adım 3: Antenlerin montajı
eXp 5500 ile anten takmak oldukça basit. Frank, koruyucu kapakları çıkarıp antenlerin nasıl düzgün şekilde takılacağını anlatıyor. Anteni çok sıkmadan yerine yerleştirmenin önemini vurgularken, sürecin ne kadar kolay olduğunu da gösteriyor.
Adım 4: PentaSense çubuğunun (uzatma parçası) montajı
PentaSense çubuğu, eXp 5500 için vazgeçilmez bir aksesuardır. Frank, bu uzatma biriminin nasıl kurulacağını gösteriyor. Çubuğun kilidini açıp ideal yüksekliğe göre ayarlıyor. İster uzun ister kısa olun, Frank çubuğun konforlu ve etkili kullanımı için nasıl ayarlanacağını açıklıyor.
Adım 5: Batarya kontrolü ve cihazın açılması
Montaj tamamlandıktan sonra, Frank batarya seviyesini kontrol ediyor. Tek bir tuşla şarj durumunun nasıl görülebileceğini gösteriyor. Sonrasında cihazı açıyor ve ekranın nasıl çalıştığını açıklayarak dedektörünüzü kullanıma hazır hale getiriyor.
Hazır mısınız?
Tüm adımları ve ipuçlarını öğrendiğinize göre, şimdi tam videoyu izleme zamanı! Frank’in uzman rehberliği sayesinde eXp 5500 Pro’nun montajı artık çok kolay. İster dedektör kullanmaya yeni başlayın ister sadece hatırlamaya ihtiyaç duyun, bu video başlamanız için gerekli tüm bilgileri sunuyor. Kaçırmayın — yukarıdaki bağlantıya tıklayarak videoyu izleyin ve OKM eXp 5500 Professional ile keşif yolculuğunuza hemen başlayın!


